
 Creating an Amazon AWS EC2 Linux instance is easier than you may think. There are few decisions to make and you can accept most default values. Once your instance is launched, it’s easy to SSH in, install Node.js and create your web server.
Creating an Amazon AWS EC2 Linux instance can be intimidating. Because AWS provides such low-level functionality, it can often feel as if you have to think-through a lot of details just to get your “Hello World!” application up-and-running. After walking through the process of spinning-up a server instance on AWS EC2, I found that the steps are not overly difficult. For the most part, there are only a few decisions to make, and in many cases you can accept the default values. Some of the concepts or terms might be difficult to understand at first, but for the most part they encompass pretty basic full-stack web development topics that you should have run across by now.
In this article, I will walk you through the steps needed to create and launch an Ubuntu Linux instance on AWS EC2. To be specific, we will create an Amazon AWS EC2 Linux Instance and then install Node.js and create an HTTP web server. Once our instance is launched, we will install Node.js and create a (very) bare-bones web server. A very important step to think about is towards the end: downloading your .pem file. This file contains the AWS credentials needed to SSH into your Linux instance. If anyone were to get their hands on this file, they could SSH into your Linux instance, which is bad. If you lost this file, then you will not be able to SSH into your Linux instance, which is bad too. So, keep that file in a safe place. For this article, I assume you already have an AWS account. If you do not have one, please take care of that first. It’s easy and there is no cost to sign up. You will need to provide a credit card, but that is for future billing purposes. Ok, let’s get started.
IMPORTANT NOTE: I kept all of the example images small for the sake of readability. Click on any thumbnail to open the full-sized image in a new window.
Creating an EC2 Instance
Go to the EC3 dashboard
You can go directly to the AWS EC2 Console: console.aws.amazon.com/ec2
Or, at the AWS Console, click “Services” in the upper-left-hand corner of the page, then click “compute”, and then “EC2”.
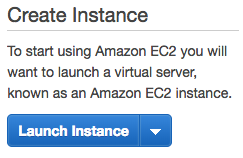
Click the “Launch Instance” button.
Choose an Amazon Machine Image (AMI) – Step 1
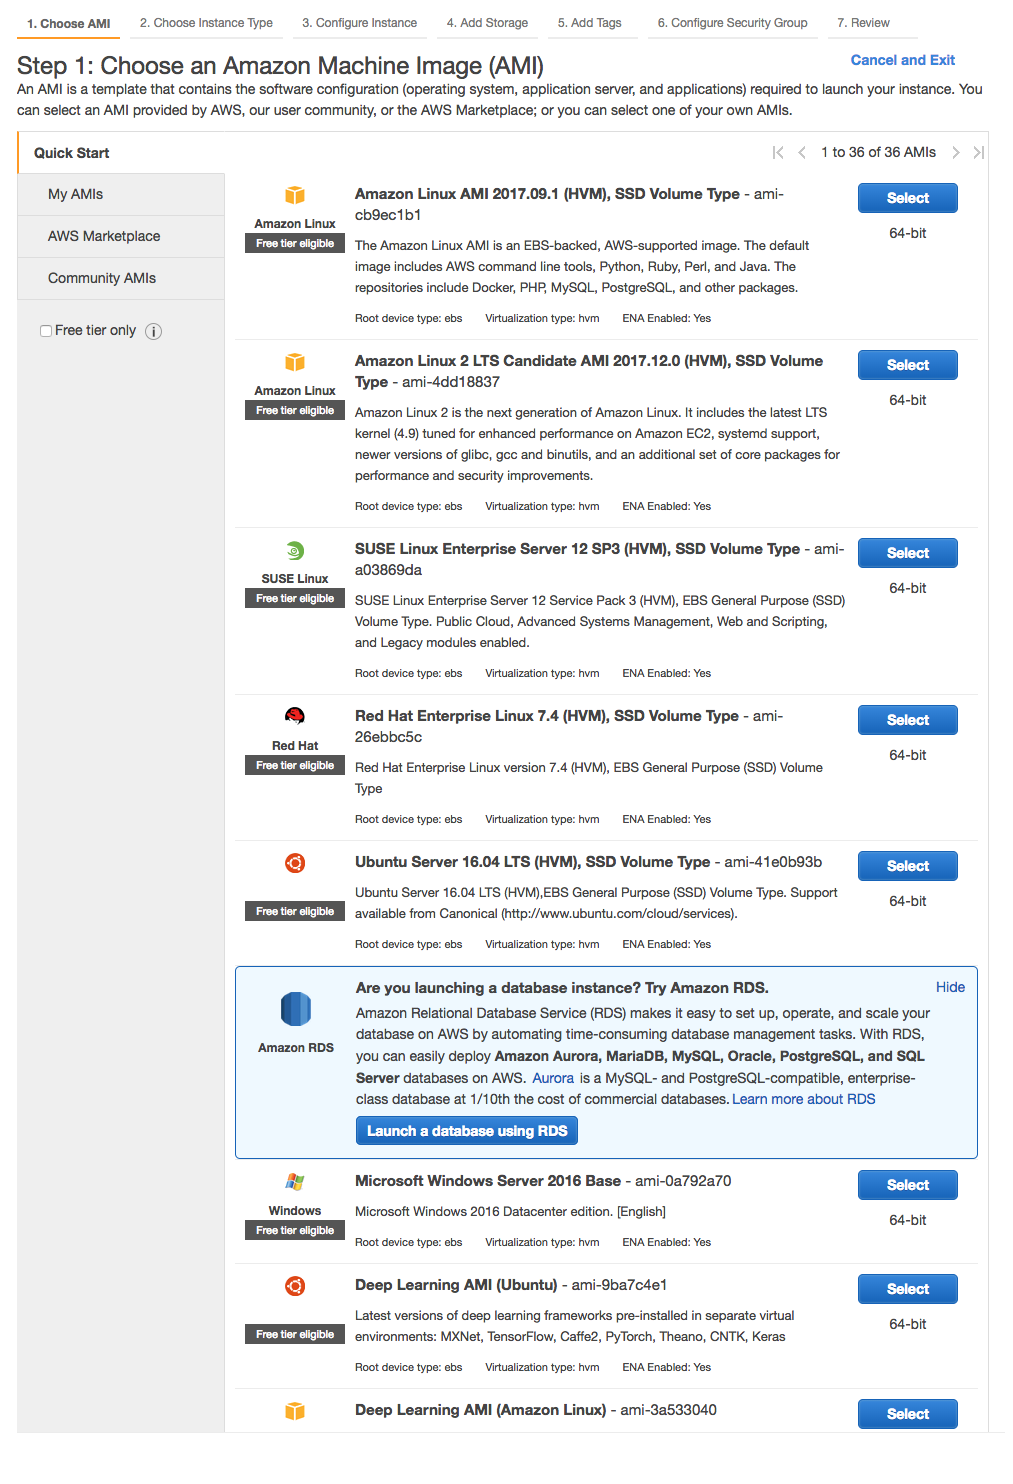
Choose Ubuntu Server 16.04 LTS (click the “Select” button)
Choose an Instance Type – Step 2
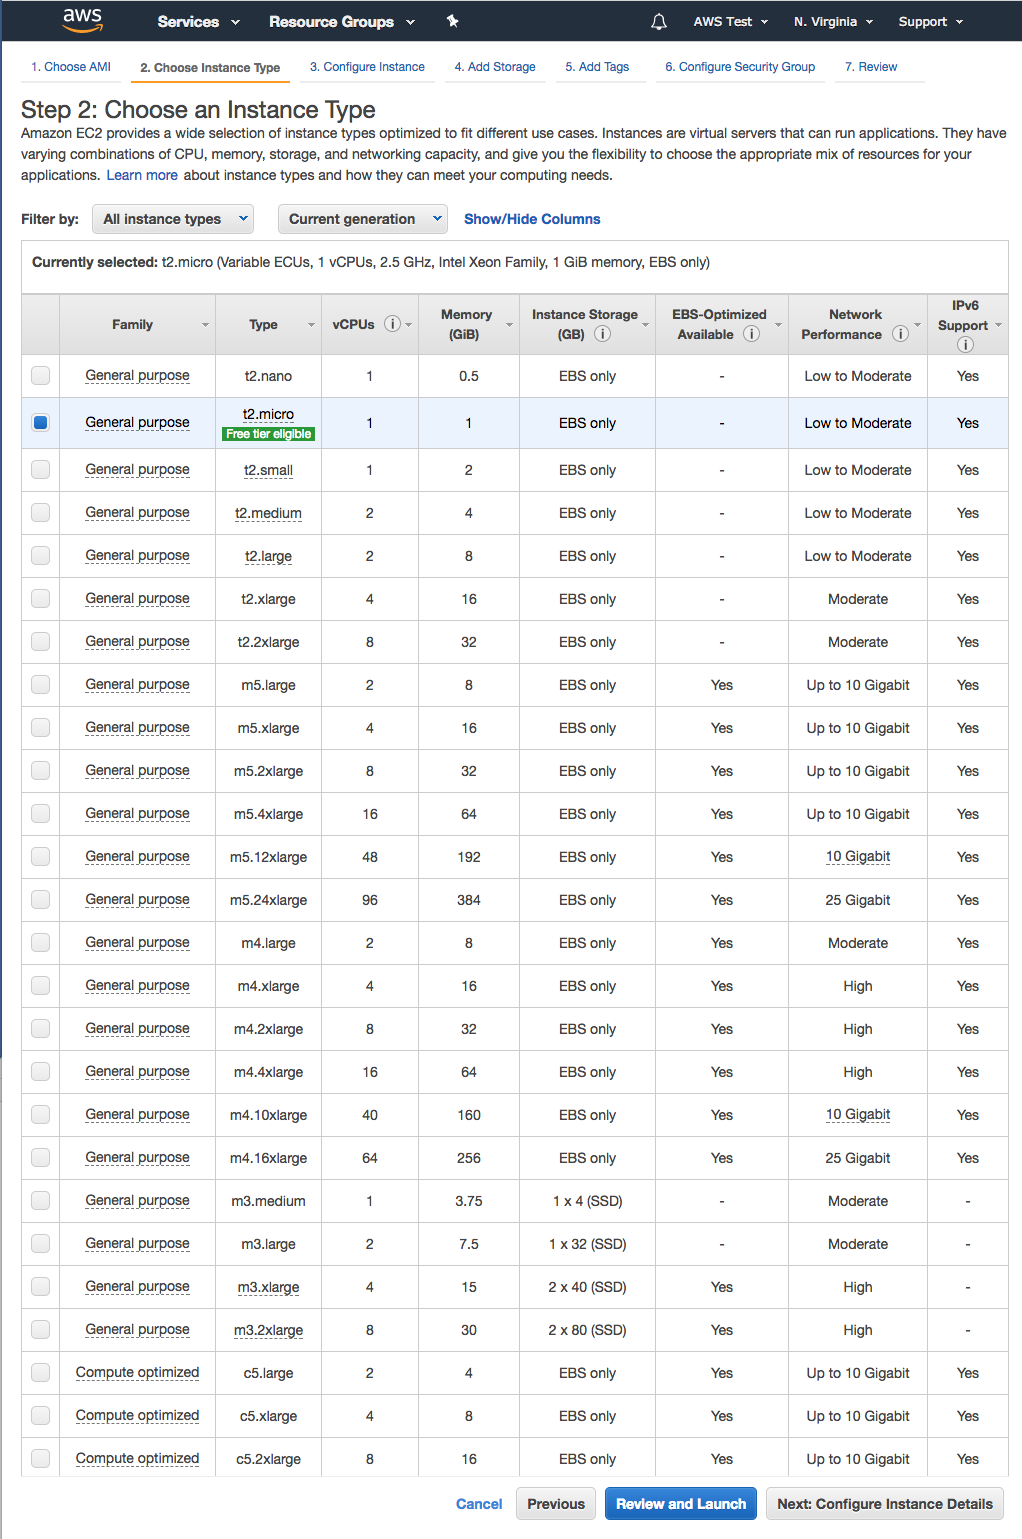
Choose “t2.micro”
Click “Next: Configure Instance Details”
Configure Instance Details – Step 3
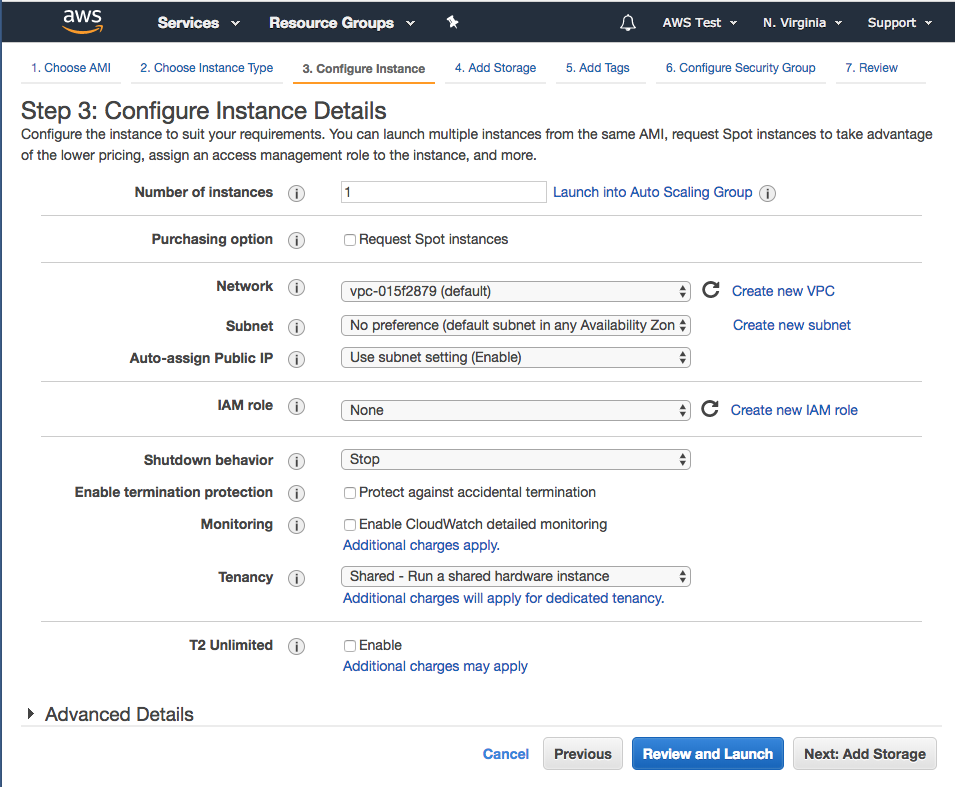
You can accept all default values on this page
Click “Next: Add Storage”
Step 4 – Add Storage
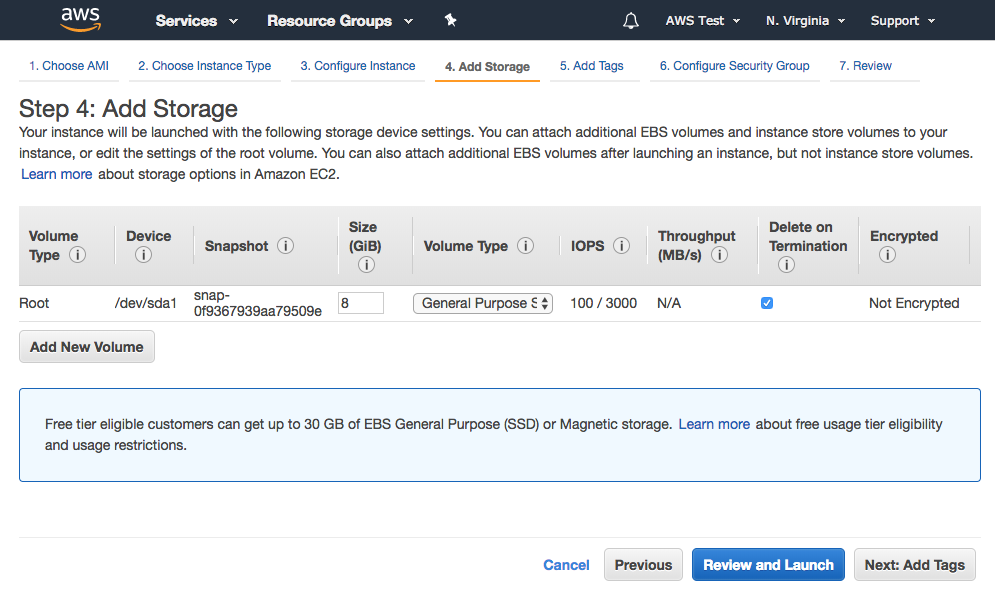
Accept the default SSD side of 8GB.
Click “Next: Add Tags”
You can configure a tag here, but that is optional.
Click “Next: Configure Security Group”
Configure Security Group – Step 6

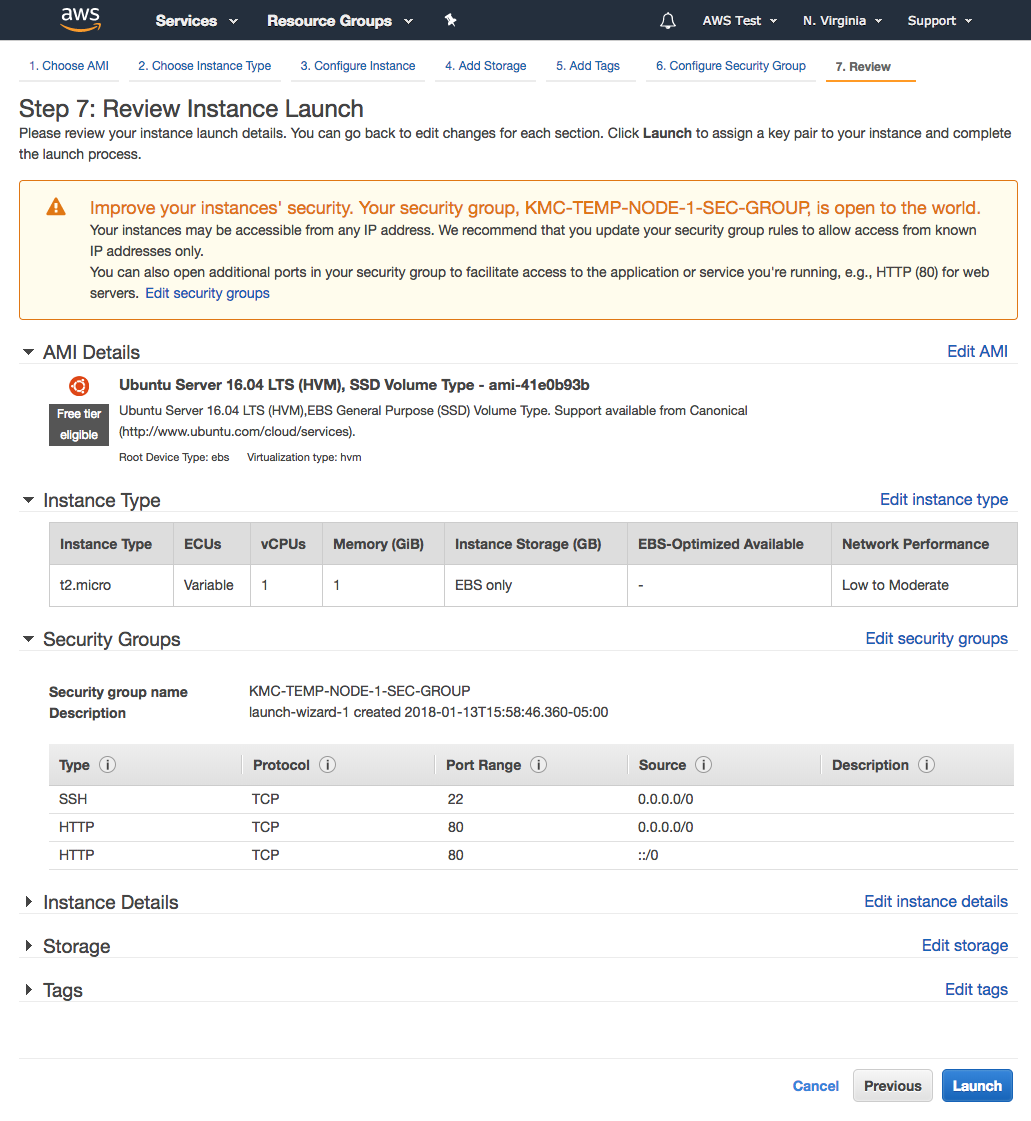
By default, AWS configures SSH using TCP on port # 22. You will see a warning about the source value of 0.0.0.0/0. This is because right now we can SSH to our EC2 instance from any IP address in the world. Best practice is to restrict SSH access to just one or two IP address in order to maximize security, but for this article we can leave the default value. We also need to provide public HTTP access to our Node.js server via port 80.
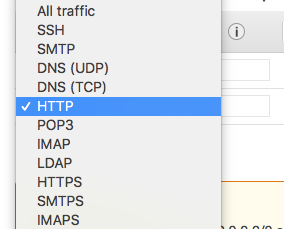
Click “Add Rule” and select the type as “HTTP”, the default settings for this will use TCP as the protocol and expose port 80 to all IPs.
To launch your EC2 instance, click “Review and Launch”, then click “Launch”.
Review Instance Launch – Step 7
You’ll see the modal: “Select an existing key pair or create a new key pair”
You will be prompted to set up an SSH key which will give you access to your EC2 instance.
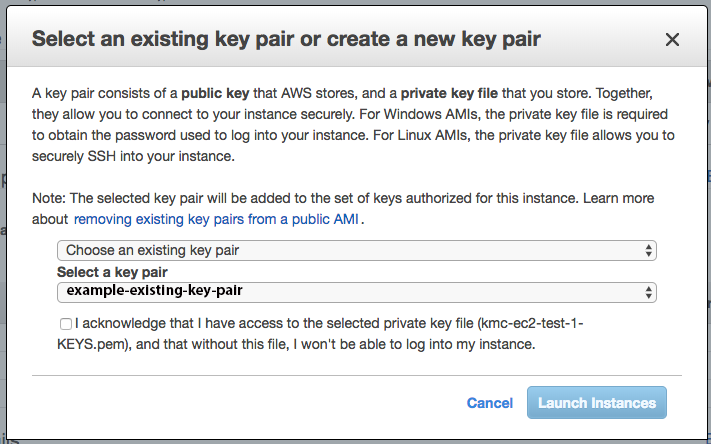
Choose “Create a new key pair”, and give the key a meaningful name.
After you enter a name for the key pair, click “Download Key Pair”
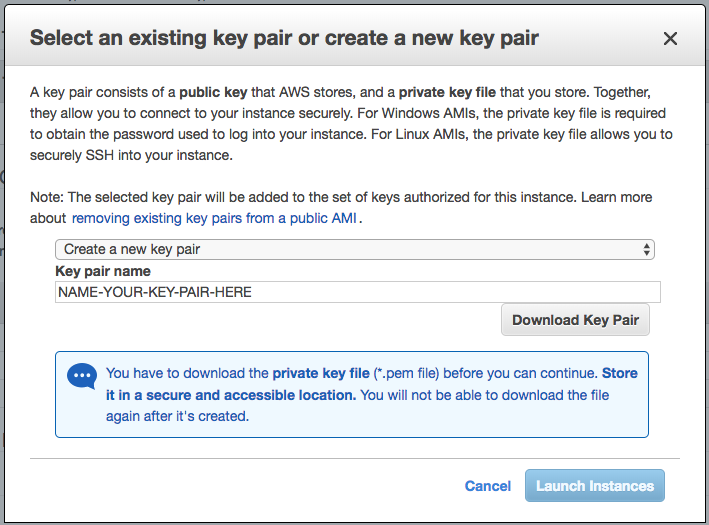
After you click “Download Key Pair”, a .pem file should start to download. You will need the contents of this file to create an SSH connection to your EC2 instance. It’s really important to keep this file in a safe place because anyone can SSH into your EC2 instance if they get their hands on it. Keep in mind: if you lose this file you will need to generate a new one.
After you have downloaded the .pem file, put that file in the following folder: ~/.ssh
Click “Launch Instance”
Launch Status
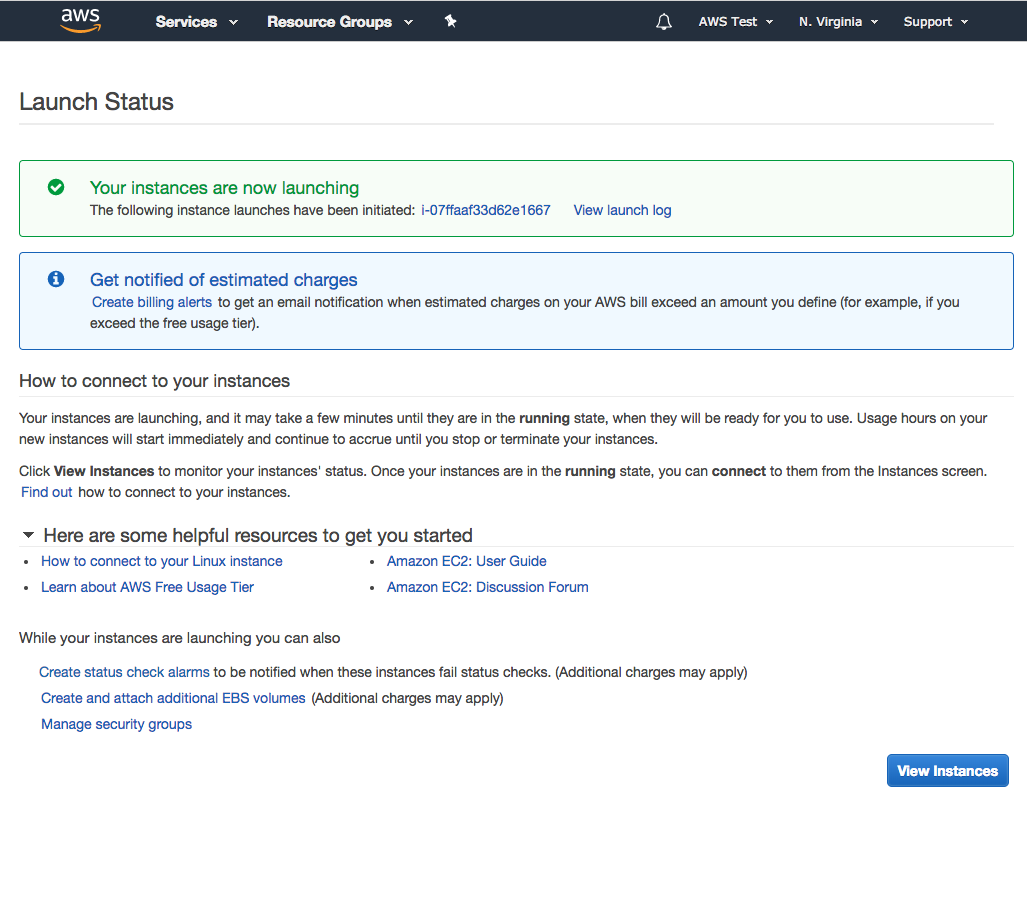
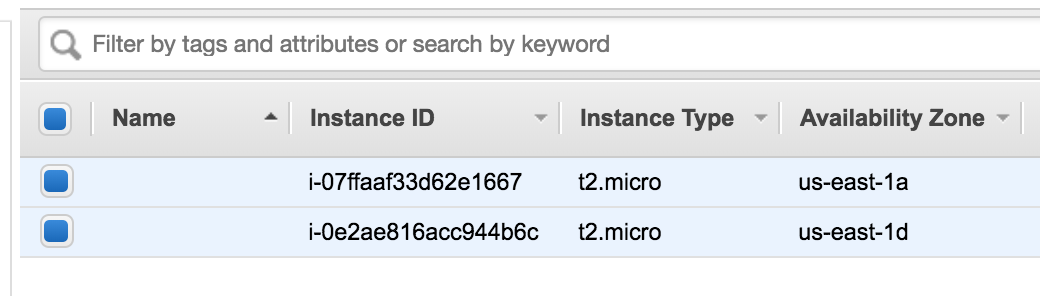
Click “View Instances”
SSH into your server
You’ll need to locate the public address of your EC2 instance. Right-click your instance and then click “Connect”. You’ll see the “Connect to Your Instance” modal
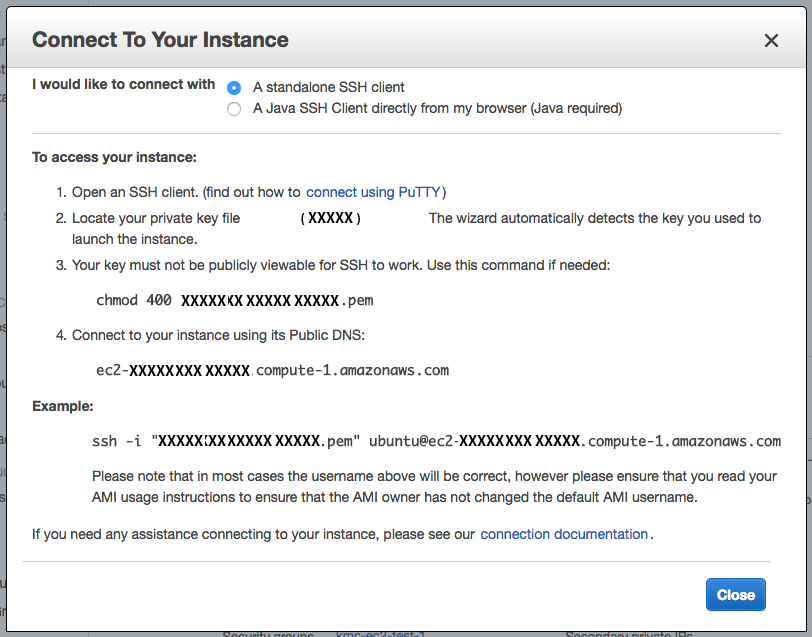
In the “Connect to Your Instance” modal, where it says: “Connect to your instance using its Public DNS”, copy the address you see.
This address should be in the following format: “ec2-1-2-3-4.compute-X.amazonaws.com”.
Open up your terminal application and execute the following command:
|
1 |
ssh -i "~/.ssh/your-pem-file-name.pem" ubuntu@ec2-1-2-3-4.compute-1.amazonaws.com |
You will be connected to your EC2 Linux
Installing node and system dependencies
Install Node Version Manager
First we want to install NVM (Node Version Manager). Execute the following command:
|
1 |
curl -o- https://raw.githubusercontent.com/creationix/nvm/v0.32.1/install.sh | bash |
Install Node
Before you install Node, you’ll need to log out and then reconnect with SSH. Log out by with the following command:
|
1 |
exit |
…and then re-establish your SSH connection.
Next, go to https://nodejs.org/en/ and check the latest version number of Node (for example, as of the date of this post, the latest version is: 8.9.4).
Install Node using the following command:
|
1 |
nvm install NODE_VERSION_NUMBER |
When the installation completes, verify the install using the following command:
|
1 |
node --version |
Create a public HTTP endpoint
Create a new directory and move into it. For example:
|
1 2 |
mkdir myServer cd myServer |
Next initialize NPM with the following command:
|
1 |
npm init |
…and accept all default values.
Now install Express.js using the following command:
|
1 |
npm install express --save |
Next we need to create the code for our web server. Execute this command:
|
1 |
vim index.js |
This opens up the VIM editor. Press “a”, and then paste the following code into your terminal:
Now press the “esc” key, then “ : “, “w” and then “q”.
Finally, start the server:
|
1 |
node index.js |
Open Up Port 3000
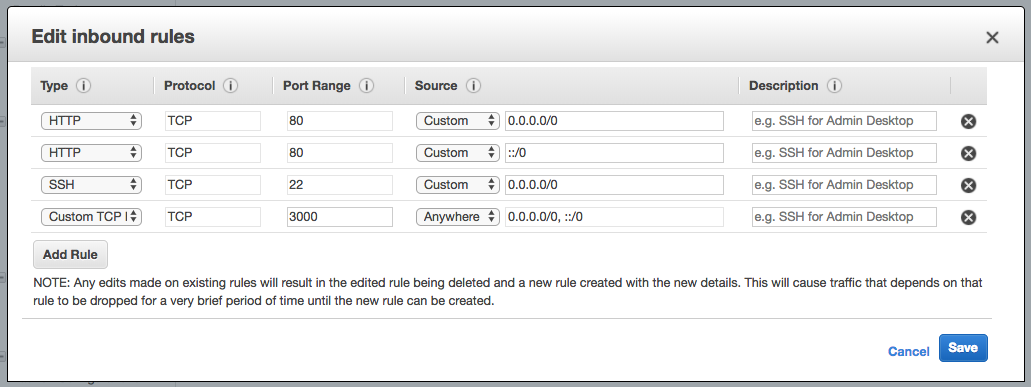
Back in the AWS EC2 Console, on the left side where it says: “NETWORK & SECURITY”, click “Security Groups”
Right click the security group you set up and click “Edit inbound rules”.

Click Add Rule.
Use a custom TCP rule on port 3000, set the “Source” to “Anywhere” and then click the “Save” button.
Now you can view your EC2 instance in the browser using its Public DNS: ec2-1-2-3-4.compute-X.amazonaws.com
You should see the following message in your browser: “Your AWS EC2 Node.js Web Server is Working!”
Summary
This article covered only what you need to know in order to get your Node.js web server up-and-running. I only walked through the absolute minimum needed in order to spin-up an Ubuntu Linux instance on AWS EC2. One issue you’ll quickly run into is: uploading actual application files to your Linux instance. I’ll cover that in a new blog post. For now, I hope this article provided the information you needed to get your Amazon AWS EC2 instance launched and your new Node.js web server running.