
 Leveraging Express.js and the ws NPM module, it is possible to create a Node Websocket Server in less than ten lines of code.
The Websocket protocol provides full-duplex communication channels over a single TCP connection. In the past, web clients had to employ long-polling or the repeated pinging of a server in order to achieve this kind of “push” functionality. Now, Websocket technology eliminates the need for such outdated techniques. So, when a Websocket client connects to the server, a persistent connection is created, and the Websocket server can then push notifications to all connected clients. It is possible for the clients to send messages to the Websocket server as well, but I’ll cover that in a later article.
In this article, I’ll explain the bare-minimum code needed to create a Node Websocket server that can broadcast all incoming messages to connected clients. This should take us about five minutes, and less than ten lines of code. The beauty of Express.js is that it takes care of the heavy lifting with regard to the actual web server. The ws NPM module also plays a starring role in that it handles the Websocket communication layer, allowing us to expose an endpoint that accepts connections and messages from clients. Plus, we can broadcast messages to connected clients.
package.json
Above is the contents of package.json. There are only two dependencies: the Express.js framework and the ws module.
The Node Websocket Server – Example # 1
So, here in Example # 1 we have the entire working application. On line #s 3 through 9 we create our dependencies. I’ve grouped things in a way that I hope makes sense, but I’ll just point out that on a high level there are two things happening here. We require the modules that we need as constants: http, express, and WebSocket. Also, we create the constants app, server and websocketServer. These constants are the results of expressions. Now if you’ve ever worked with Express.js before, the app constant should be familiar to you; it’s simply an instance of the Express framework. The server constant is the result of calling http.createServer(), passing it our express.js instance (ie. “app”). And finally, the constant websocketServer represents our Websocket server.
Now let’s jump ahead for a moment to line # 30, where we start our web server. It’s not that there’s much going on here; it’s just that I wanted to point out that the server is started by calling the server.listen method, passing it the port to listen on (i.e. 3000). The second argument (the anonymous function) is optional.
Now let’s go back up to the top of the file. As you can see, the rest of the code is surprisingly simple. We create two event handlers, the first of which takes care of each Websocket client connection, and the second one processes each message that it receives from that client. On line # 12, we have the first event handler. We use the “on” method of the websocketServer instance to handler an incoming connection. This is somewhat similar to creating a handler for a GET or POST request in Express.js.
We pass the event as the first argument (i.e. “connection”), and then a function as the 2nd argument. The anonymous function that we provide contains the code that we want executed for each new Websocket client connection. This function also receives a Websocket client as its first argument. We have named this variable: “webSocketClient”. On line # 14 we provide some feedback to the Websocket client by sending it the first Websocket message: { “connection” : “ok”}. This is for demonstration purposes only, just so that we can see right away that the connection has been established.
Now inside of the anonymous callback, we set up the second event handler, which will process each message that this client receives. And similar to the connection event handler, we use the “on” method of the webSocketClient variable to handler an incoming message. We pass the event as the first argument (i.e. “message”), and then a function as the 2nd argument. The anonymous function that we provide contains the code that we want executed for each message received by this Websocket client.
Broadcasting the Message to All Websocket Clients
On line # 20, we start the process of broadcasting the incoming message to all Websocket clients. Using the forEach method of the Websocket.clients list, we iterate the list of websocket clients. And for each iteration, we provide a callback function. This callback function receives the currently iterated Websocket client as its first argument. So, we then use the send method of that client object, and send the incoming message (i.e. by sending one message to many recipients, we are “broadcasting” that message).
Testing the Websocket Server
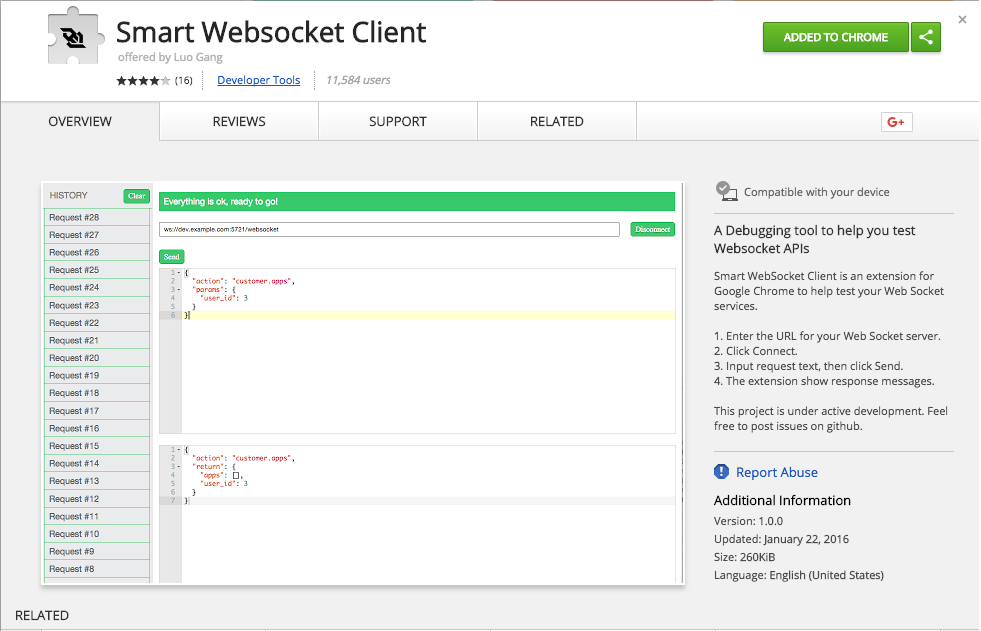
Now if you copy all of the code from Example # 1 into a file and then execute it, you’ll have a running Websocket server on port # 3000. But that isn’t enough. Now we want to test our websocket server, and an easy way to do this is to use the Smart Websocket Client plugin for Google Chrome.
So go ahead and click this link to install the plugin, and once you’ve installed it, start the plugin by clicking the icon in the upper-right-hand corner of your Chrome browser.
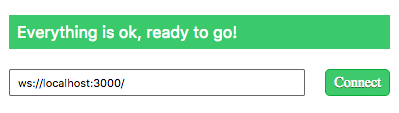
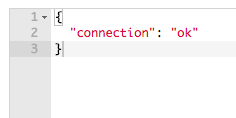
Once the Smart Websocket Client is running, enter http://localhost:3000 in the address bar and then click the “Connect” button. You should see { “connection” : “ok”} in the lower window, indicating that a Websocket connection was successfully established (see example # 2).
Example # 2
In the top window, enter any text, click the “Send” button, then you’ll see your message appear in the lower window. Now open a few more instances of the Smart Websocket Client and follow the same steps. If you place your Chrome browser tabs side by side, you’ll see that every message you’ve sent has been broadcast to every Websocket client. Congratulations! You’ve just built a working Node Websocket server.
Example # 3
Now earlier in this article, I promised that we could create our Websocket server in less than ten lines of code. Example # 1 clocks in at 32 lines of code, but this is because I used whitespace and comments to make the code as readable as possible. So, in Example # 3, I’ve provided the condensed version of our Node Websocket server. This code is not very pretty, but as promised, it is a fully functional Node Websocket server that’s set up in less than ten lines